1
/
of
1
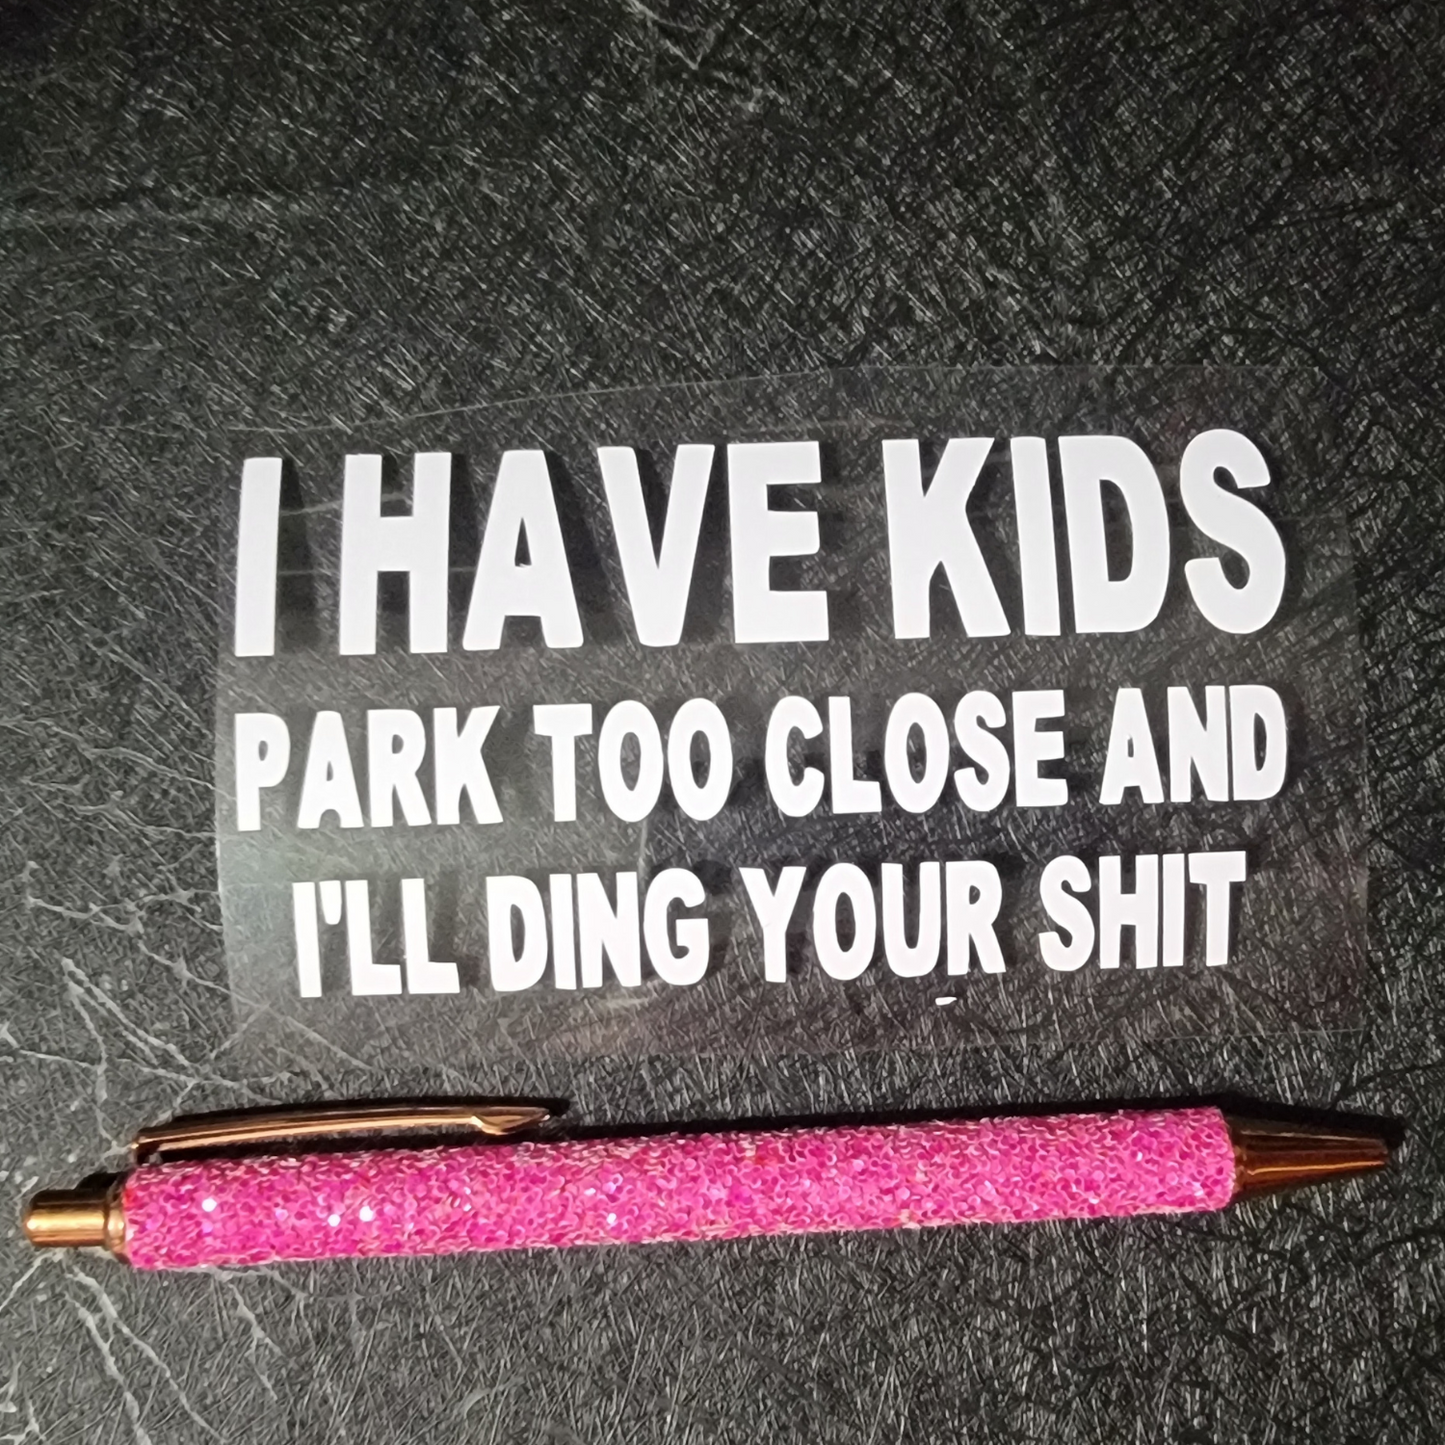
I have kids, park to close and i'll ding your shit - Decal
I have kids, park to close and i'll ding your shit - Decal
Regular price
$6.00 USD
Regular price
Sale price
$6.00 USD
Unit price
/
per
Couldn't load pickup availability
Pen is used for scale.
Decal can easily be removed with no mess and doesn’t damage paint!!
These decals are a great addition to laptops, walls, windows, cars, trucks, bumpers, guitars, refrigerator ipad/iphones and much more! Pretty much any smooth surface you could think of.
Every order comes with super simple instruction for application
————— INSTRUCTIONS —————
These are DIE-CUT decals meaning there is no background to them. If there is a background color in the picture it is used only as an example. The background color will be the color of the surface you apply this decal to, or clear if you apply this to a window. These decals come in three pieces:
1. Top layer is a transparent layer called transfer tape.
(This keeps your decal together until it is applied)
2. Middle layer is your actual decal.
3. Bottom layer is the wax backing.
(protects the adhesive until the decal is ready to be applied)
General application TIPS:
1. Never apply decals to an extremely hot or cold surface.
2. Ideal installation temperatures will be between 60 and 90 degrees.
3. Do not touch the adhesive backing your fingers oils will prevent the decal from sticking.
Application Instructions:
1. Rub the sticker to ensure that the transfer tape is adhered to the decal.
2. Clean and dry the surface the decal will be applied to. Decals will stick best to a clean, dry and smooth surface.
3. Remove the wax backing slowly making sure the sticker stays adhered to the transparent tape.
4. Carefully position your decal to the desired area.
5. Rub the sticker from one side to the other, getting rid of any air bubbles.
6. Use a credit card, squeegee and go over the decal to ensure it has adhered to the desired surface.
7. Slowly remove the transfer tape, making sure no part of the decal remains on the transfer tape.
8. Check for air bubbles. In most cases air bubbles can be worked out to the edge of the sticker. If you have trouble getting an air bubble out you can simply poke the bubble with a thumb tack or pointy object and pop the bubble.
Share


